What’s The Right Instagram Reel Size?! Don’t Panic — We Have All the Answers

Ever go to upload a video to Instagram, only to realize you either have to crop your head out or leave a weird border around the edges? Yeah, not ideal.
Luckily, that situation is avoidable. All you need is the right information (like the correct Instagram Reels size) to start shooting and editing videos that look like they were made for the app. So, with that, let’s get started.
How to Optimize Videos for Instagram Reels

Heads-up: This blog is about the technical specs needed to create great Instagram Reels.
If you’re looking for best practices related to the content of Reels, check out Let’s Get Reel: Videos are Instagram’s Most Important Content Format. Now, on with the show.
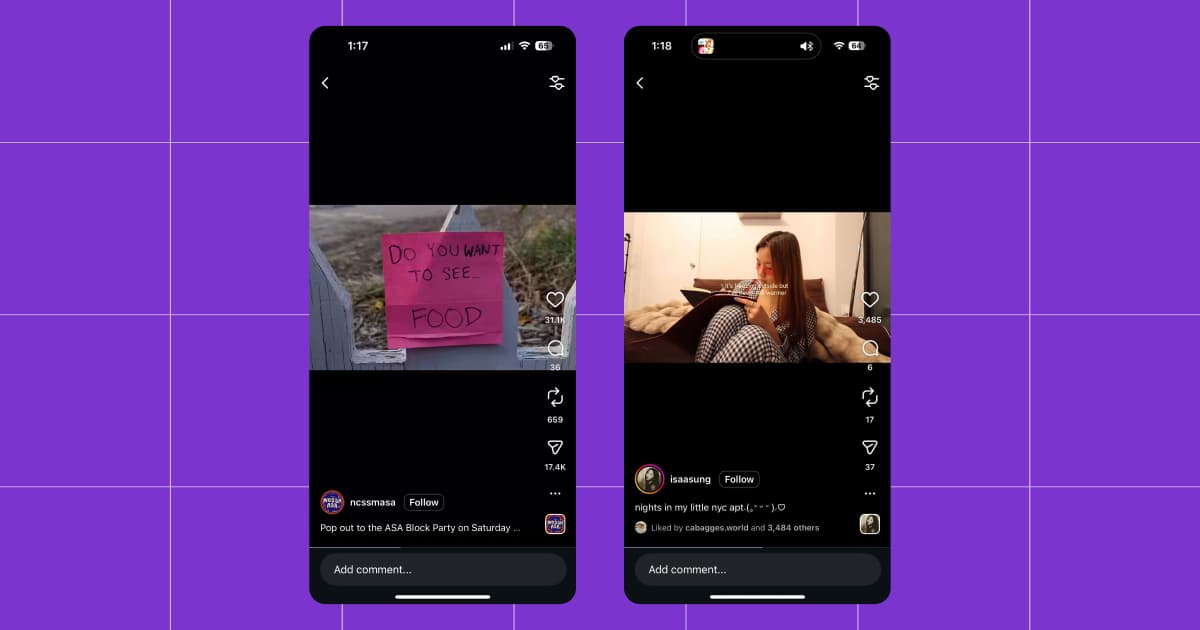
1. Use the right aspect ratio
Instagram prioritizes videos that fill the screen and look sharp. If your content is blurry or oddly cropped, it’s unlikely to perform well.
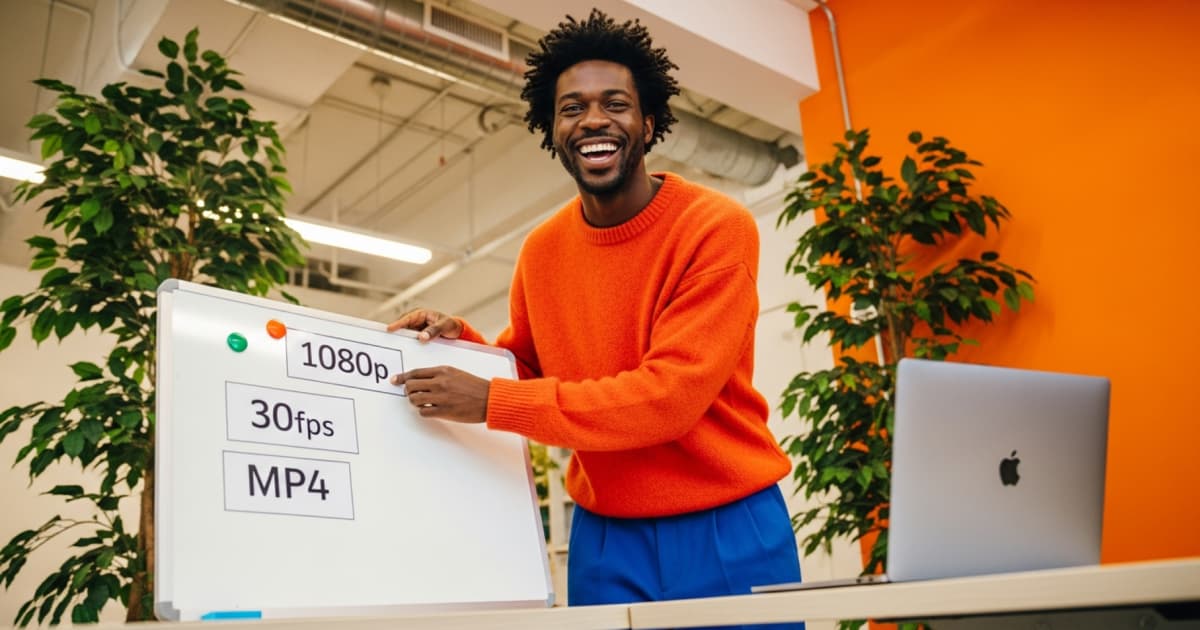
On that note: An aspect ratio of 9:16 works best for Reels.
Of course, this is assuming your video was shot vertically. If you have a horizontal video, you can upload it as a Reel with a 16:9 aspect ratio; just note that your video will appear smaller on the screen, and Instagram will add black bars/pillarboxing. (Plus, the algorithm rarely prioritizes horizontal content.)
If your video doesn’t match the ideal Instagram Reel dimensions, tools like CapCut or Canva can help you resize it properly.
2. Shoot high-resolution content
Everyone knows that high-resolution content performs better than grainy, blurry footage. The only exception is the famous photo of Nessie, the Loch Ness Monster, which has been shared widely.
A resolution of 1080p (1920 x 1080 pixels) is perfect for Instagram Reels. This is considered standard High Definition (HD). Plus, it’s doable with a smartphone — all iPhones made in the last decade support shooting 1080p.
If your account is centered around video content, you can up the resolution to 4K (3840 x 2160 pixels). More good news: Most smartphones can shoot 4K these days, so you probably won’t need to invest in an expensive camera for that either. (Please note that Instagram will automatically compress your video to 1080p.)
As far as frame rate goes, ≥ 30 fps is ideal. The lowest frame rate on my iPhone 14 is 24 fps, so this should be attainable for most of us.
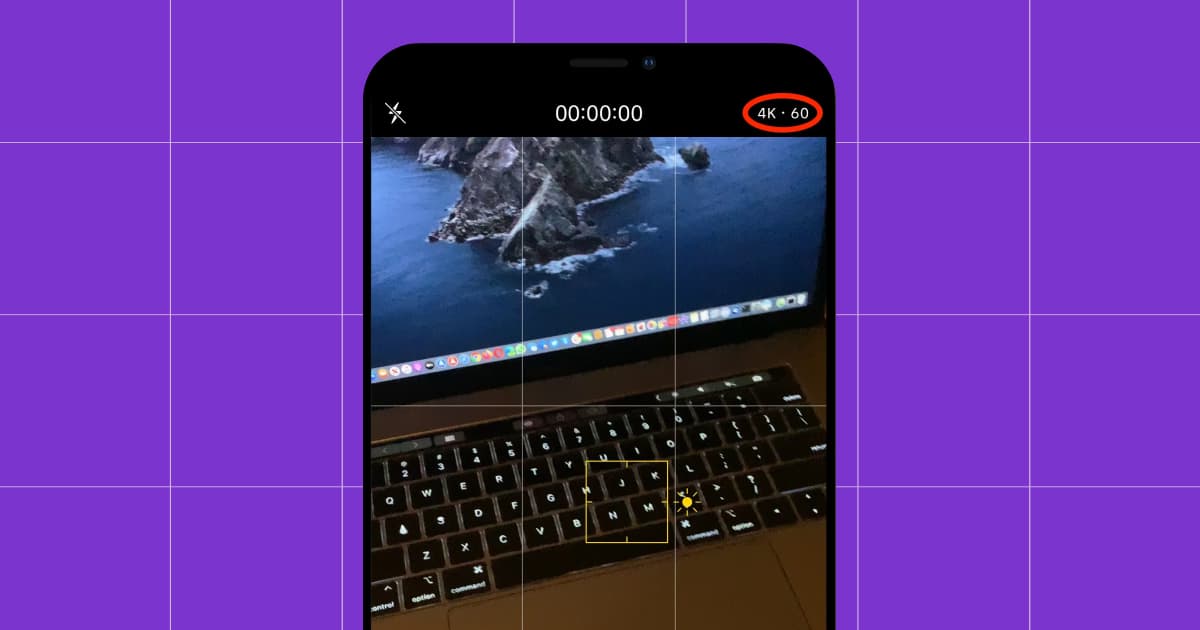
If you have an iPhone and want to change the resolution or frame rate of your videos, open the camera app as if you’re about to shoot a video.
In the top right corner, you’ll see HD 30 (or 4K 60′). Tap 4K to change it to HD. Tap 60 to change the frame rate to 30. You get it.
Unlike a static Instagram post, video formats like Reels are far more sensitive to resolution and frame rate — which is why these settings matter so much.
3. Find the sweet spot with your bitrate
Bitrate represents the amount of visual information your video contains. Higher bitrates preserve more detail, which makes your footage look sharper and cleaner. Lower bitrates discard information, which leads to pixelation or the grainy look that happens when images get compressed.
For Reels, the sweet spot depends on your source footage:
- Go with eight to 12 Mbps for standard 1080p videos
- Up to 20 Mbps if you’re exporting from 4K footage downscaled to 1080p (this keeps the extra detail without overwhelming Instagram)
The goal is to give Instagram a file that’s high-quality but not so much so that the platform aggressively recompresses it.
FYI: Bitrate isn’t something most creators need to worry about. But anytime you run your footage through another app (like CapCut), the app chooses the bitrate for you — and that’s when you end up with videos that don’t look right.
Whether your bitrate is too low or too high, the easiest way to fix it is to re-export the file with the right bitrate.
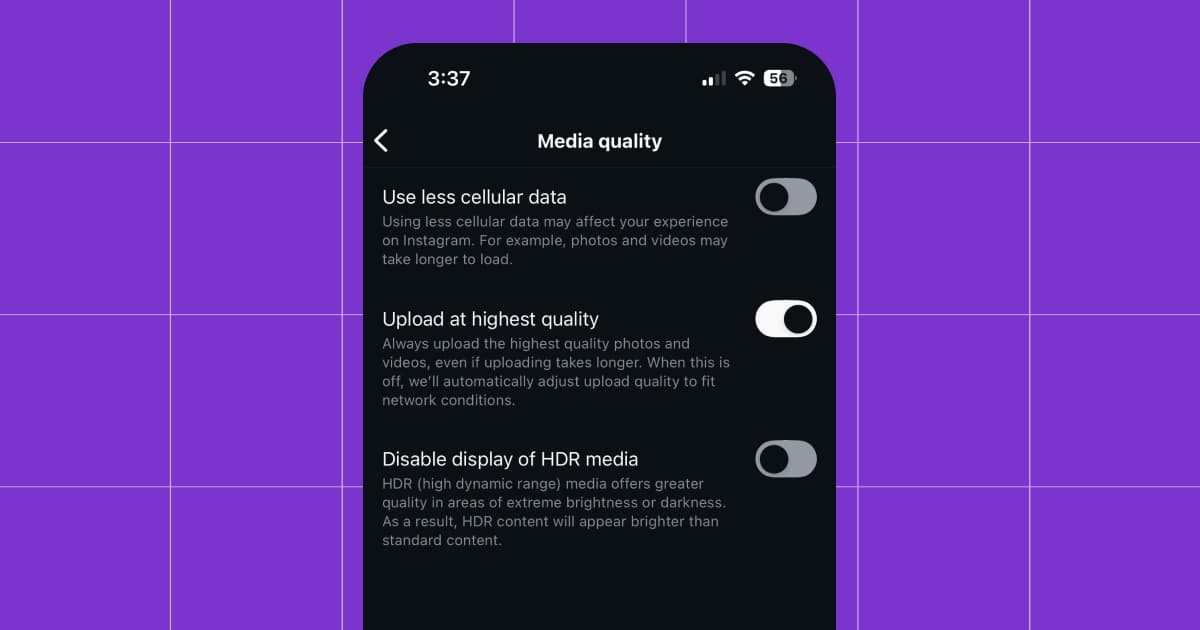
BTW, you can enable high-quality uploads in the Instagram app. I recommend doing this so that your videos don’t automatically get compressed. To toggle it on, simply head to your Instagram profile, tap the hamburger menu in the top right corner, and scroll down until you reach Media quality.
4. Make sure you have the right file type
This one’s pretty straightforward: Your video needs to be an MP4 or MOV file to upload it to Instagram. If you shoot content with your phone, you’re already there, but less common file types like MPEG, AVI, MKV, and WMV will need to be converted. Fortunately, there are plenty of free tools out there that can help you convert them to the correct file type — like CloudConvert, for example.
Also, pay attention to your file size. Anything bigger than 1 GB will either fail to upload or compress terribly.
5. And the right video and audio codecs
In addition to file type, you need to think about codecs (especially if you edit your content in a third-party app like CapCut, TikTok, or Adobe Premiere). Codecs compress and decompress files, which matters if you’re uploading, downloading, and re-uploading content in different apps.
For video, Instagram expects H.264 (AVC) codec, which is the standard for MP4 and MOV files. Other codecs (HEVC/H.265, ProRes, VP9, etc.) may upload with errors, trigger heavy compression, or fail entirely.
By default, iPhones shoot using either:
- HEVC (H.265) if “High Efficiency” mode is on, or
- H.264 if “Most Compatible” mode is on.
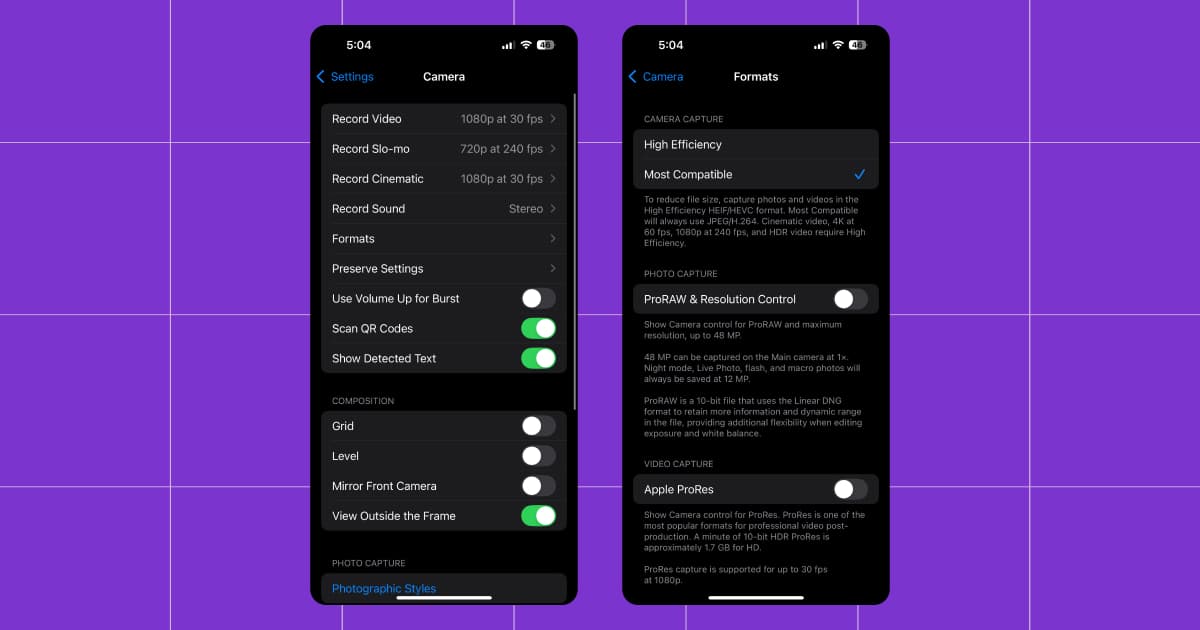
To check your codec settings, go to Settings > Camera > Formats.
Here, you’ll see two options:
- High Efficiency (HEVC/H.265)
- Most Compatible (H.264)
If you want to avoid upload problems and have the best quality possible, choose Most Compatible.
For audio, there is only one “correct” codec for Instagram: AAC/.m4a (Advanced Audio Coding). This really only matters if you import audio that was recorded on another device, because most phones record video audio in AAC.
For instance, if you use an external microphone to record audio, this might be an issue for you. Many mics and portable recorders (Zoom, Rode, Tascam, etc.) default to WAV/PCM codecs, which Instagram doesn’t love.
If you end up with an audio codec that’s not AAC, here’s what to do:
- Convert the audio before you start editing. If your external mic gives you a WAV or PCM file, convert it to AAC (.m4a) using a tool like Audacity, Adobe Audition, or a simple mobile converter app.
- Or, let your editor handle the conversion on export. Most editing apps (CapCut, VN, Premiere Pro, Final Cut, DaVinci Resolve) will automatically export your final video with AAC audio as long as you choose MP4 or MOV as your format. Double-check your export settings to confirm, though.
And…Action! 🎬
You’ve got the secret recipe, now it’s time to cook. But before you head off to set up your ring light, one more thing: a checklist of Instagram Reel sizes and specs to double-check before you upload.
Aspect ratio (size) | 9:16 for vertical videos; 16:9 for horizontal videos |
Resolution | 1080p (HD) or 4K |
Frame rate | ≥ 30 fps (60 fps if you want smoother footage) |
Bitrate | 8 to 12 Mbps for 1080p; Up to 20 Mbps if exporting from 4K |
File type | MP4 or MOV |
File size | < 1 GB |
Video codec | H.264 |
Audio codec | AAC (.m4a) |
If you liked this, just wait ‘til you read these:
- Carousel, Reel, or Feed Post? When to Use Each Instagram Content Format
- Stop Guessing: Here’s Exactly When to Post on Instagram
- Want to Make Sales on Instagram? Build Real Relationships First
✋Frequently Asked Questions (FAQs)
1. Why do my videos look great on my phone but blurry on Instagram, even when I follow all the rules?
Instagram compresses every video you upload — even if you follow the recommended Instagram Reels size and settings. If your video looks wonky, it could be because:
- Your bitrate is too low or too high
- Your footage was shot in HDR/Dolby Vision
- You exported using a Variable Frame Rate (VFR)
- The video went through multiple apps (let’s say TikTok, CapCut, and Instagram)
Here’s what to do: Turn off HDR if you’re shooting on iPhone and export with a constant frame rate (CFR) wherever possible (most video editors have a toggle for this in the export settings section).
2. Why does my audio sometimes go out of sync or disappear when I upload a Reel?
If nothing seems wrong with your clip but your audio is not synced correctly (or gone altogether), the culprit is likely one of the following:
- A non-AAC audio codec (WAV, PCM, MP3)
- Variable frame rate footage
- Mixed audio from multiple sources (for instance, an iPhone and an external mic)
- An editing app that re-encodes audio inconsistently
To fix it, convert external audio to AAC (.m4a), ensure your editor exports with CFR, and avoid stacking multiple audio formats in the same timeline.
3. Does the way I export my video actually affect reach, or is that just a myth?
It’s not a myth, unfortunately. Your export settings can literally determine whether Instagram shows your Reel to 200 people or 200,000. Instagram’s algorithm considers engagement, as well as watchability, clarity (especially in the first frame), and the presence of compression artifacts.
The key is to give Instagram the cleanest possible file — MP4, 1080p, 30 to 60 fps, H.264, AAC, with the correct bitrate — and let the algorithm run with it. Follow the rules outlined in this guide, and your IG reel will be set up for viral success.


Originally published: Dec 31, 2025, Updated: Dec 31, 2025

