You have just activated the first features of your bot, which is totally awesome! However, to move forward with Manychat and create an excellent experience for your subscribers, which leads to customer loyalty, you need to better understand how Manychat works.
Manychat brings website owners and visitors together on a single Chat platform. Using our Messenger bot, you’re sure to see a significant uptick in eCommerce store conversions across the board.
From getting started to additional features for growth, here’s how to build an eCommerce chatbot that does the selling for you and improves your customer engagement and eCommerce marketing strategy.
Table of contents:
- Add your business description
- Include product information
- Link your online store
- Add phone number
- Use coupon codes
- Build custom links to your bot
Build an eCommerce Chatbot Step #1: Add Your Business Description
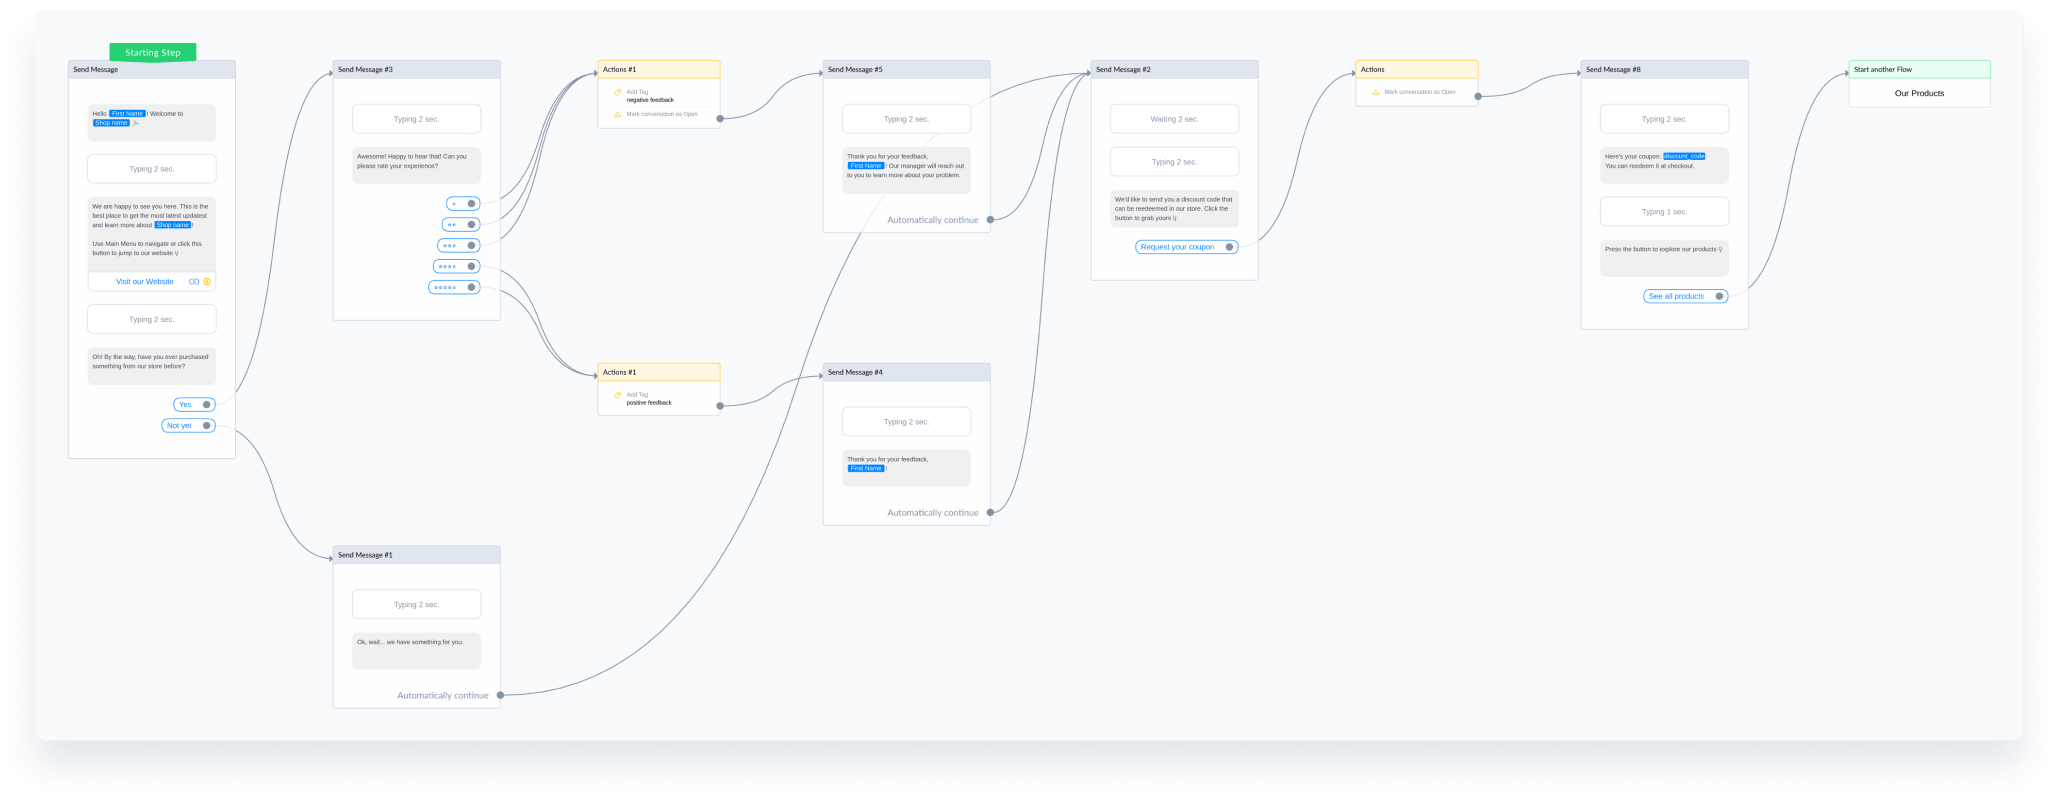
If you were to click on the link to your eCommerce bot, you would receive the messages about your company.
Let’s see how they look in Facebook Messenger and Manychat.

What you see here in Manychat is called a message block. You can use message blocks for sending text, images, videos, buttons and other things to your subscribers.
Chatbots are programmed to follow a set workflow designed to optimize conversions and generate leads. Use a chatbot template to make this process easy — there’s no need to start from scratch!
By combining different message blocks together you get Flows, the fundamental components that drive the conversation each customer has with your Messenger bot.
Every customer follows a prearranged path when it comes to your Messenger bot — unlike some forms of “AI chatbots” that attempt to use machine learning and conversational messaging to generate conversions.
Learn more on how to create and edit flows
How to make your flow in Manychat:
- Click on the “Automation” tab on the left side menu
- Click on “Flows”
- Click the blue-button “+New Flow” in the upper right corner
Build an eCommerce Chatbot Step #2: Include Product Photos & Descriptions
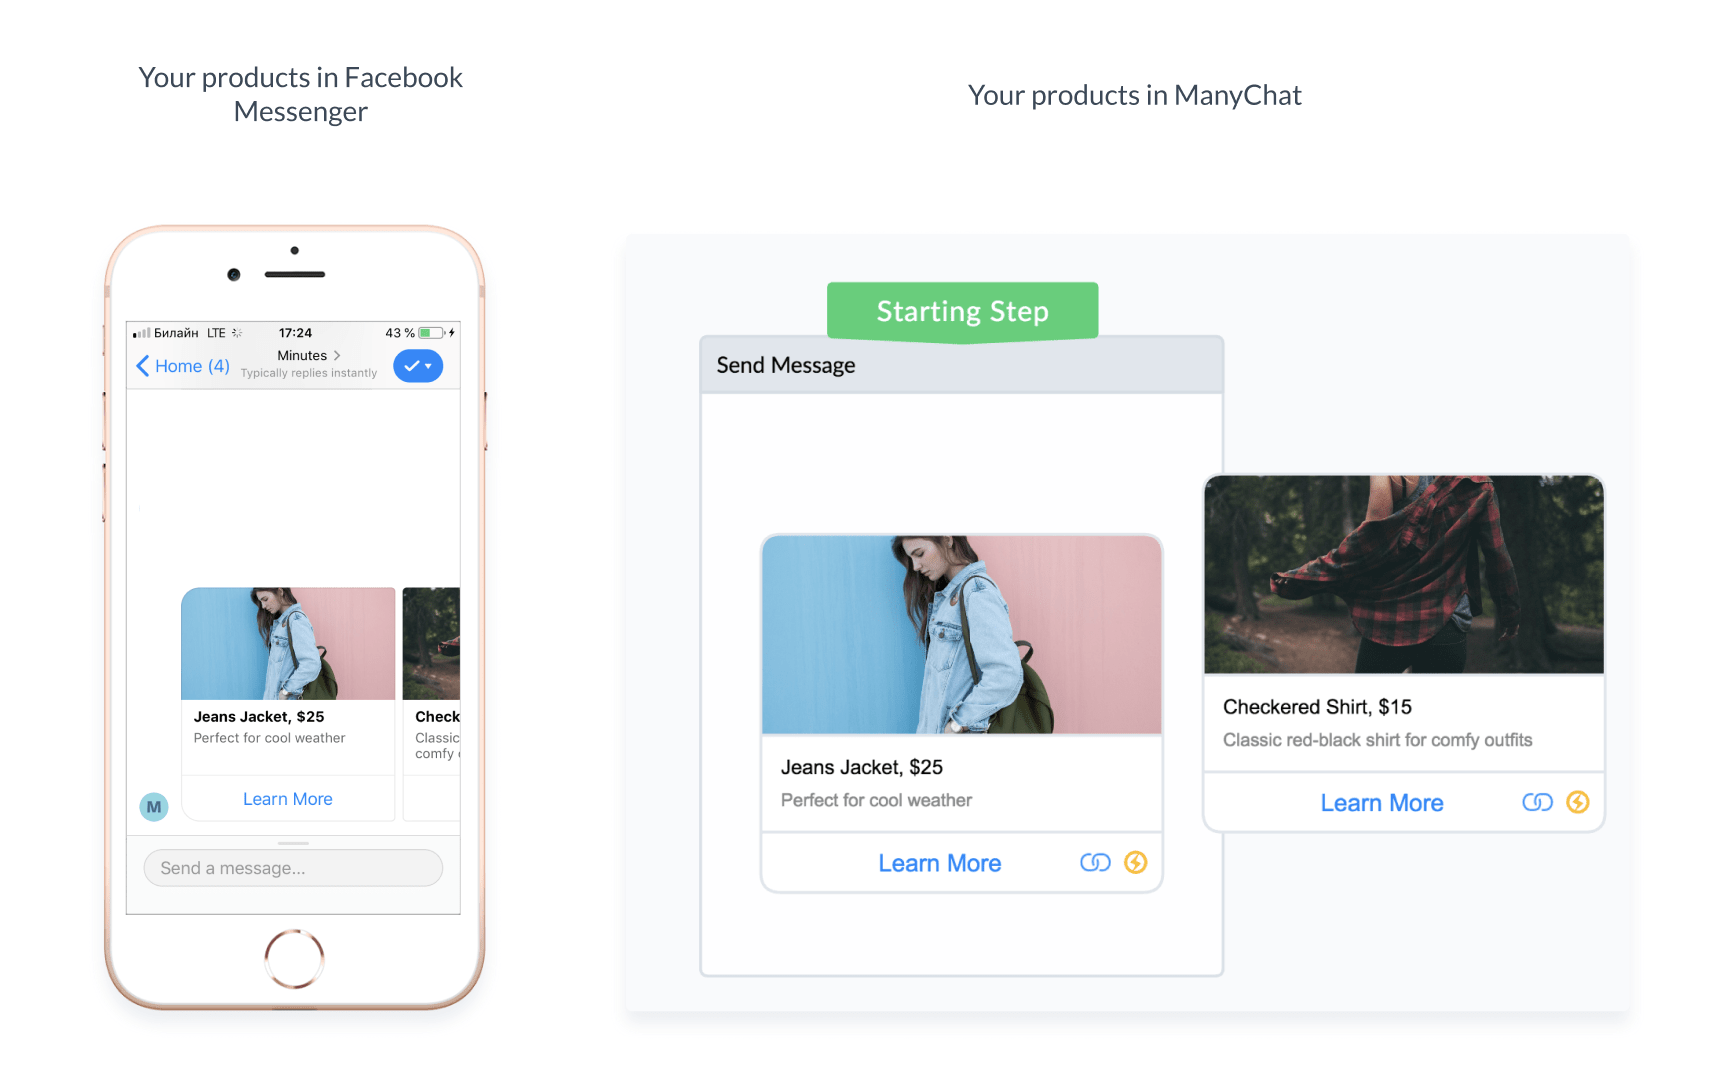
Pictures speak a thousand words. So to help the buyer make a purchase decision, and keep customer retention, include photos and product descriptions.
There are two ways to add images with descriptions to your eCommerce bot for customer loyalty:
- Cards: Show one image at a time
- Galleries: Show several images at a time (up to 10 in one gallery)
Learn more about adding cards, galleries, and other types of content (including video) to eCommerce chatbots here. You can also learn about Dynamic Images and how to quickly update photos.
Build an eCommerce Chatbot Step #3: Link Your Online eCommerce Store
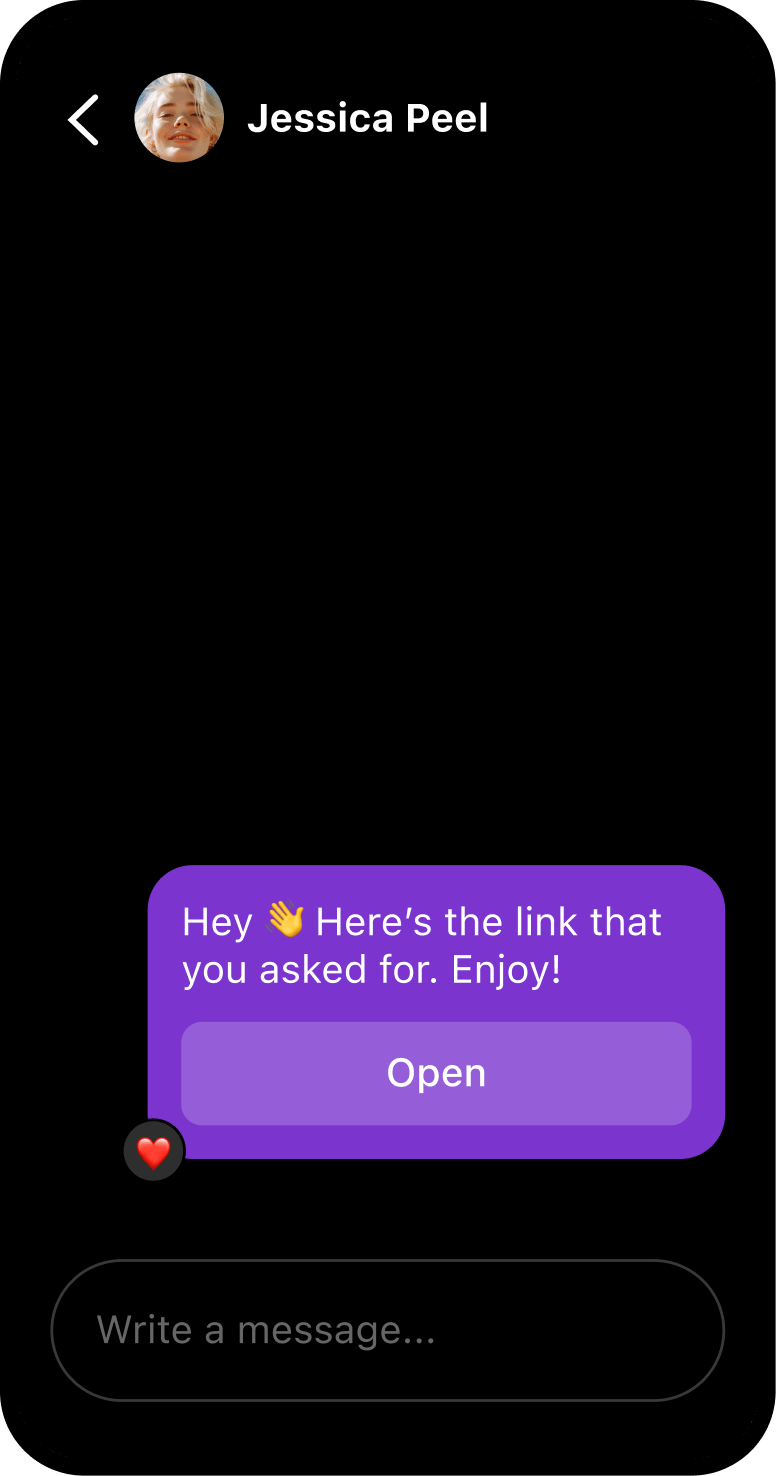
In one of its messages, your new bot will suggest that your subscribers visit your website.
Your subscribers can then easily click on a button, which leads directly to your eCommerce website. Here is how that button looks in Facebook Messenger and in Manychat.
In Manychat, you can use buttons for a lot of things:
- Redirect to an external URL
- Dial a phone number
- Send a particular message based on the button click
- Add a tag or assign a value to a custom field
- Sell something right inside your bot
- And much more!
Read more on what button types there are and how to create them here.
Build an eCommerce Chatbot Step #4: Add Your Phone Number
A subscriber will be able to see your phone number in two cases:
- If they write something the bot can’t interpret, they then get an automatic response from your bot which includes the number.
- If they click through the bot menu to find it.
If your subscriber types in something during the chat that the bot cannot recognize, he or she will get this message:
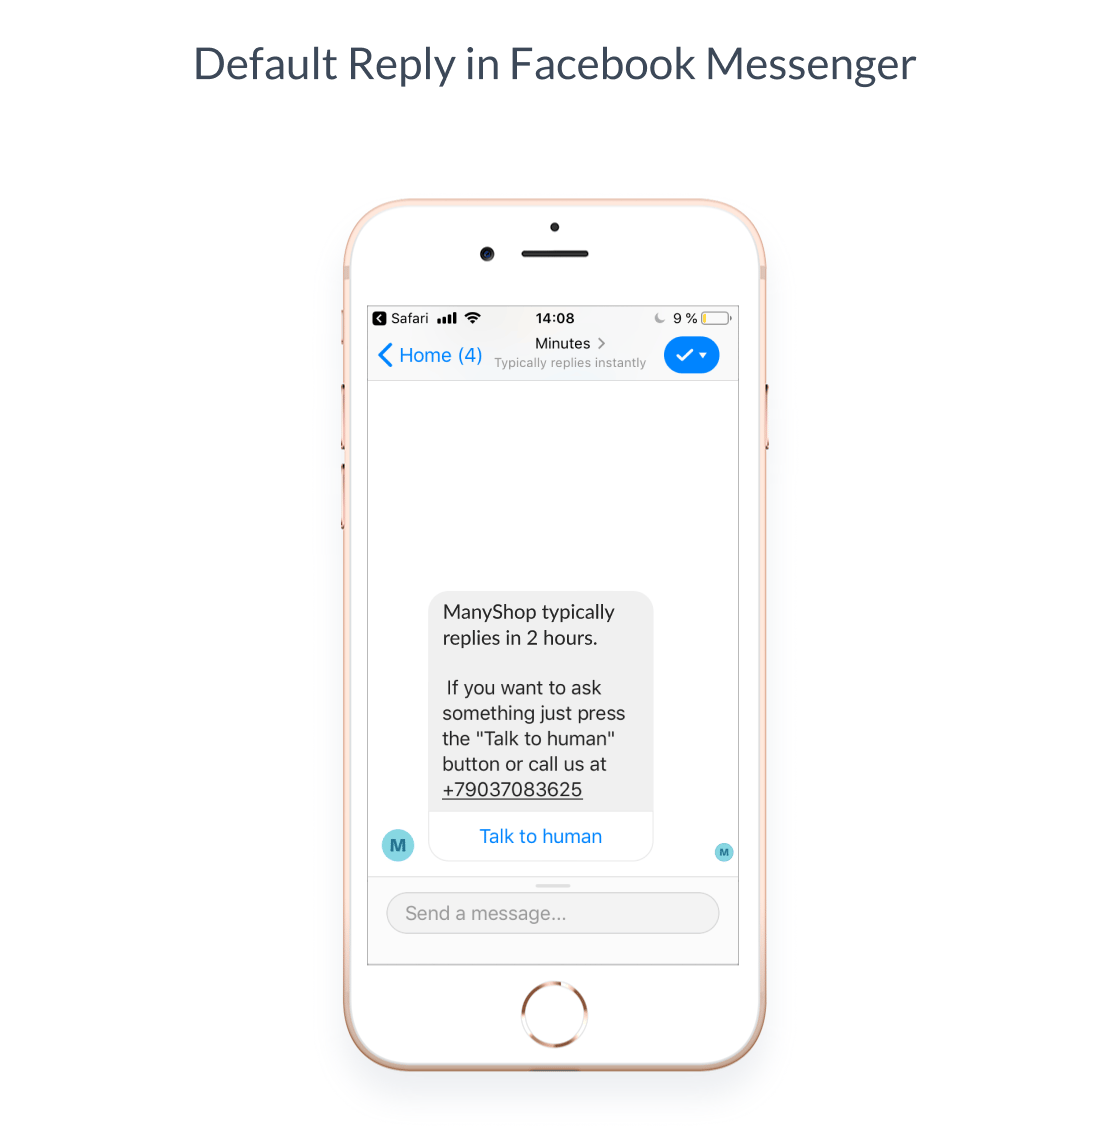
This automatic response is what we at Manychat call the Default Reply. Hint: It’s okay to use something a little more conversational with your chatbot, but remember that clarity and user experience are vital!
Click here to learn how to enable, disable, or change the text of your Default Reply.
The bot menu, or Main Menu, is just like a website menu: a navigation tool leading to the most important information your bot has to offer.
Usually, the main menu is hidden under the delicious-sounding “hamburger icon”, but if you click on it, it will expand and show available options (you can add three options to the first level of the menu, and five as the second level).
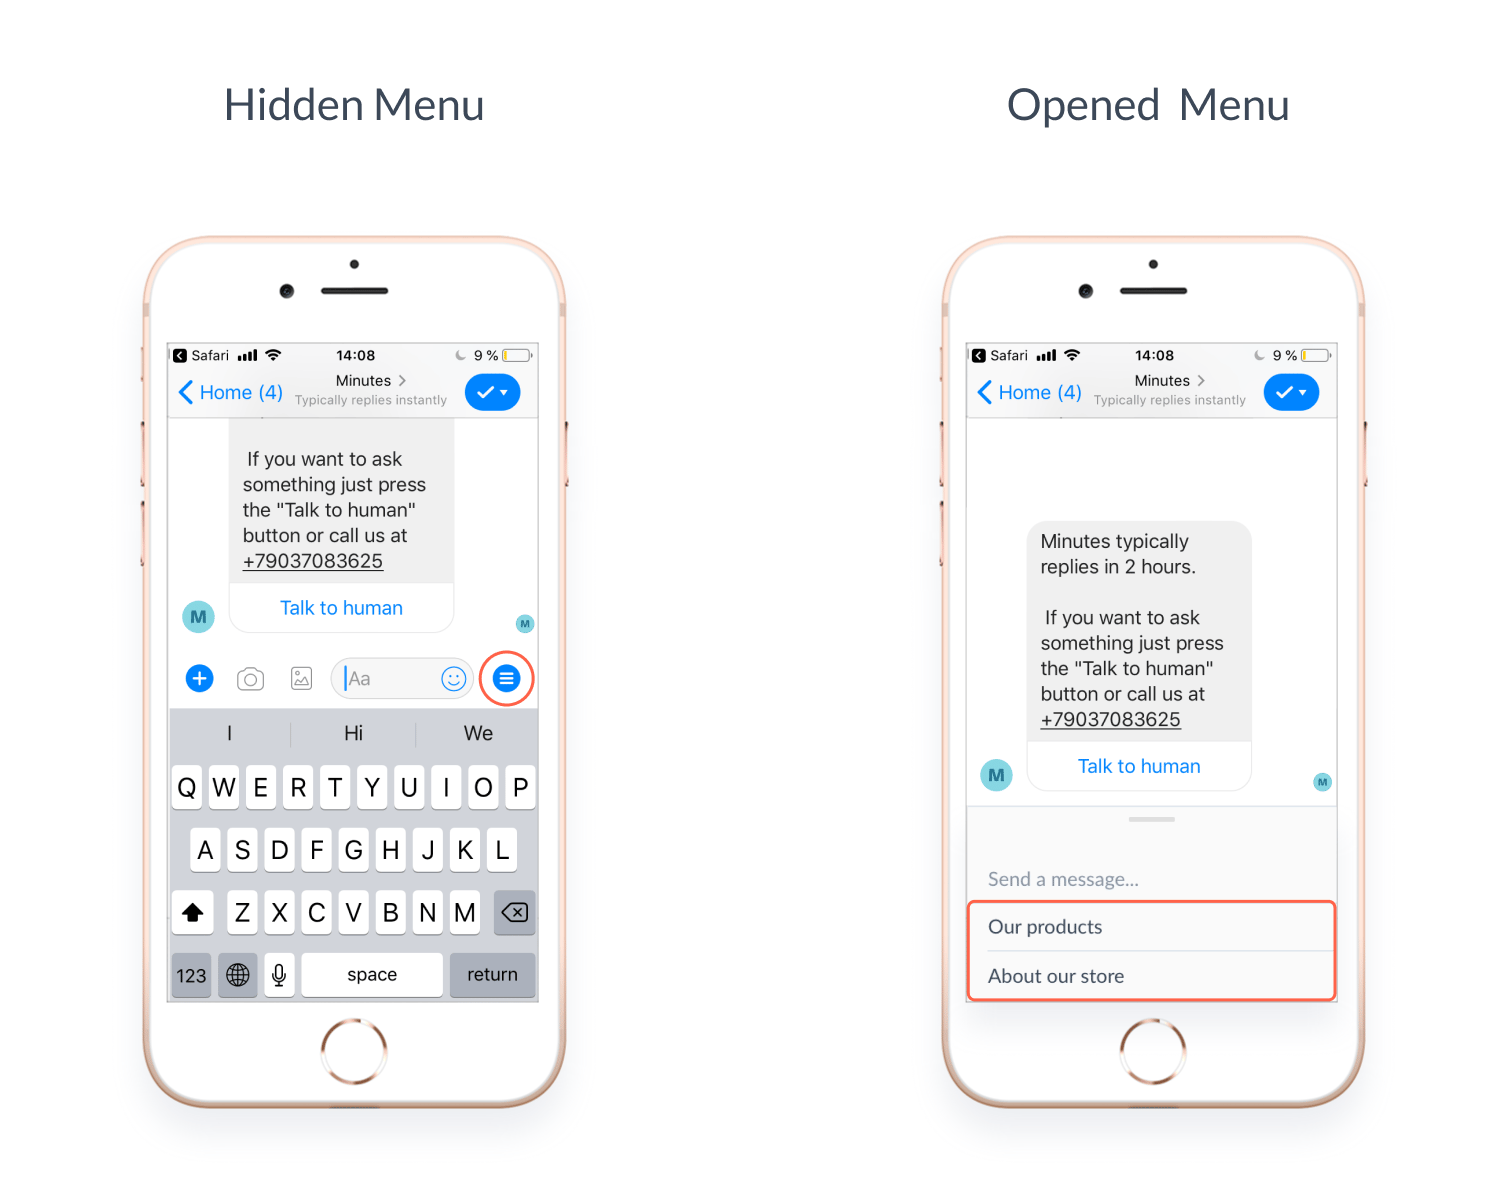
Read more on how to set up, edit, enable or disable the Main Menu for eCommerce business here.
Build an eCommerce Chatbot Step #5: Use Coupon Codes
Your bot has the ability to offer a coupon code to your subscribers. Coupon codes help shoppers make their first purchase, and can keep customer retention. With Manychat, your bot can engage in messaging automatically and offer discount codes directly to your customers.
To provide a coupon code elsewhere, you can simply type it in as regular text. However, if you decide to change your coupon code later, you would need to remember all the places you had used it and manually update the code. That is not very handy, is it?
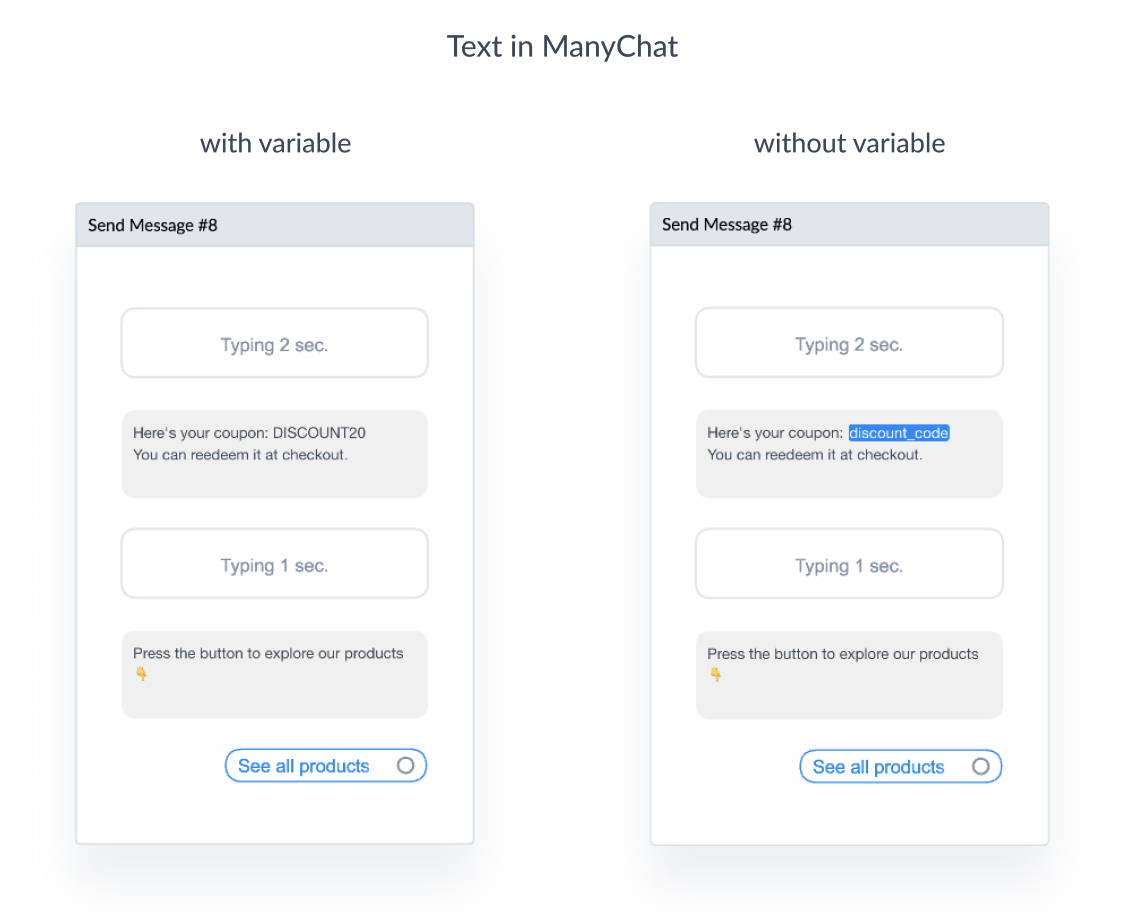
That is why Manychat offers a more convenient way to manage your coupon codes: variables or Bot Fields. Variables are simple placeholders that can fit right where you’d manually write in your coupon code.
Then, you only need to modify the text assigned to that variable in one spot within Manychat, in order to make it update throughout your entire bot. In other words, you can create a variable discount_code, and assign text to it, for example, DISCOUNT20.
After doing so, each time you want to display your coupon code you would not type DISCOUNT20, but {{discount_code}}. {{..}} is just a way to tell Manychat that you want to use a variable.
So, if you later decide to swap your coupon code from DISCOUNT20 to D20, you would only need to change this value in a single place, instead of doing it in a million places all around your eCommerce bot.
Compare how the same text looks with and without variables:
Learn more here about Bot Fields and their cousins Custom User Fields.
Build an eCommerce Chatbot Step #6: Build Custom Links to Your Bot
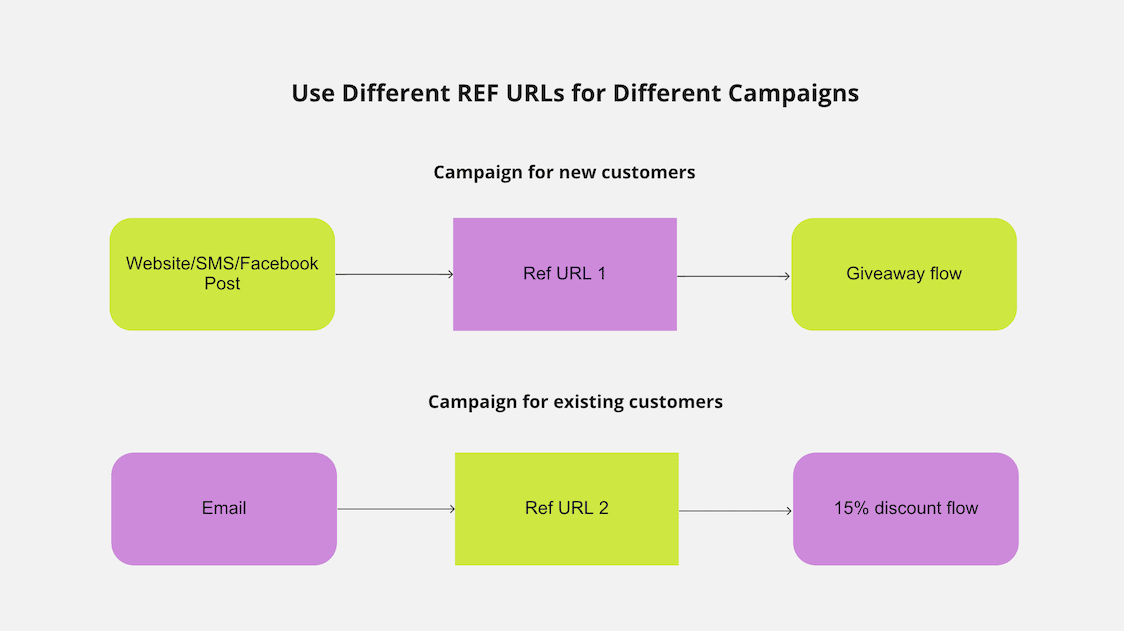
A Ref URL, one of Manychat’s Growth Tools, is a link that leads to a specific flow in your bot. They’re very handy to have because you can create different flows for different campaigns and connect each of them to different Ref URLs.
Let’s say you want to run 2 campaigns: the first one is a give-away and the second one is a 15% discount. You can create two different flows with relevant text and for each flow create a separate Ref URL. Then you can promote your give-away link somewhere like Facebook to acquire new customers and only send your 15% discount link to existing customers via email. Your new customers will not have access to the 15% discount flow, and your existing customers will not be able to take part in the give-away you designed solely for new customers. 
Here are few ideas of how you can use Ref URLs to get new subscribers:
- Add it to your website or at the end of your eCommerce product videos
- Mention it in your next email or social media broadcast and offer subscribers a cool lead magnet
- Add it to a post on your Facebook Page or even Facebook Group
- Add it to a Facebook or other social media advertisement (use bit.ly to change formatting, otherwise, Facebook will not allow you to use it in the Ad)
Ref URLs are just one of thirteen methods to acquire new subscribers we offer through Manychat. You can learn more about Growth Tools here.
Some of the Growth Tools are designed to be used on websites, while others can be used with Facebook posts or Facebook Ads. Be sure to check them out and find the best option for you!

Originally published: Feb 23, 2021