Once a symbol of exclusivity, the little blue checkmark has evolved. For years, that tiny verification badge next to your name meant Instagram had confirmed you were the real deal — a creator, brand, or public figure worth following.
Now with Meta Verified, anyone can verify their identity through a subscription, shifting the checkmark’s meaning from a status symbol to a marker of authenticity. Even so, it remains one of the most visible trust signals on the platform. With more than 2 billion users (countless catfish and bots among them), the blue checkmark communicates legitimacy more than notoriety.
So how does verification work in 2026? And is it worth pursuing? Read on for answers.
The Evolving Perception of the Little Blue Checkmark

In 2018, Instagram introduced its verification process, and one of the first accounts to earn that coveted badge was Shaquille O’Neal (@shaq). Back then, the blue checkmark was a fast pass to credibility — a quick way for users to scroll through countless profiles and instantly spot who was “official.”
The launch of Meta Verified in 2023 rewrote that story. Now, anyone who meets basic identity requirements can pay and get verified. The badge is no longer a sign of fame; it simply shows that you’ve invested in protecting your identity and building legitimacy on the platform. Some users view paid verification as more accessible — others believe it has lost its exclusivity.
Should You Go Through the Verification Process?
Sarah Gavilla (@sarahgavilla), Manychat’s YouTube Manager, says:
“Everyone can get verified now, so it’s not as exclusive. However, most people don’t even know [Meta Verified] exists, so I feel that there’s still credibility when they see the blue check.
I do think that any influencer or public figure should invest in it. There are added protections like the customer support feature, and if you ever get your account hacked or impersonated, it’s easier to take action.”
On that note, Meta is pretty straightforward about who verification is for: creators and businesses. Here it is straight from the horse’s mouth:
Meta Verified is a subscription bundle for creators and businesses that helps you show the world your profile is authentic and build credibility with your audience.
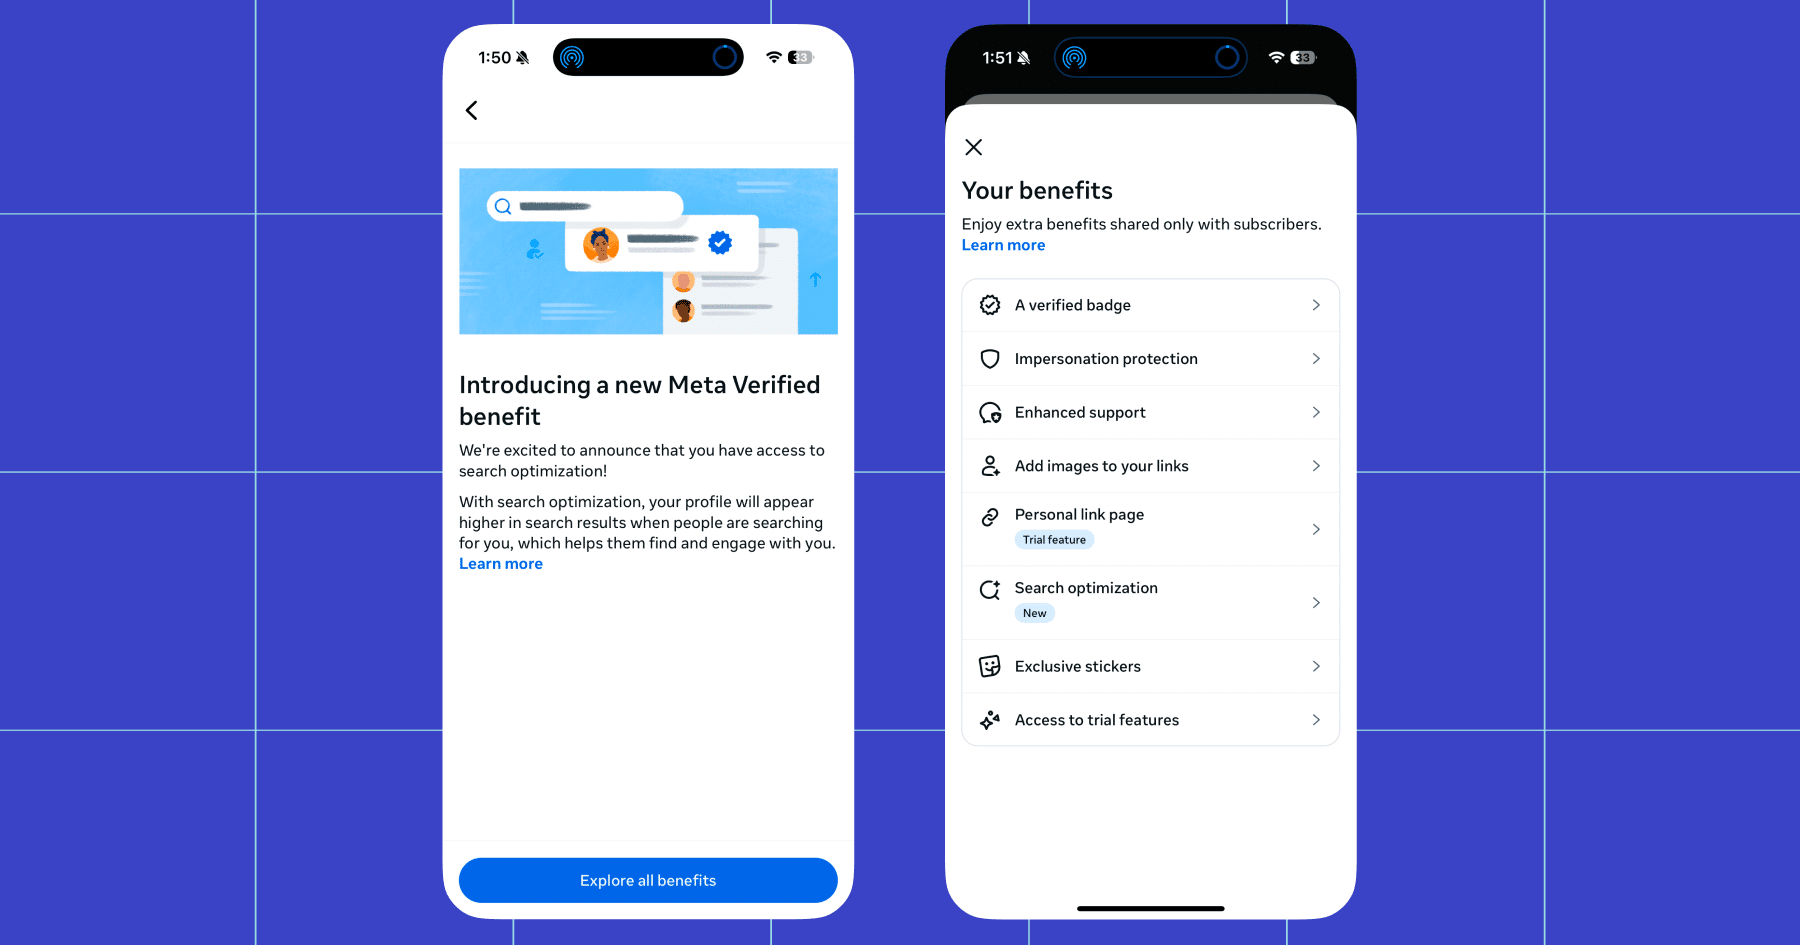
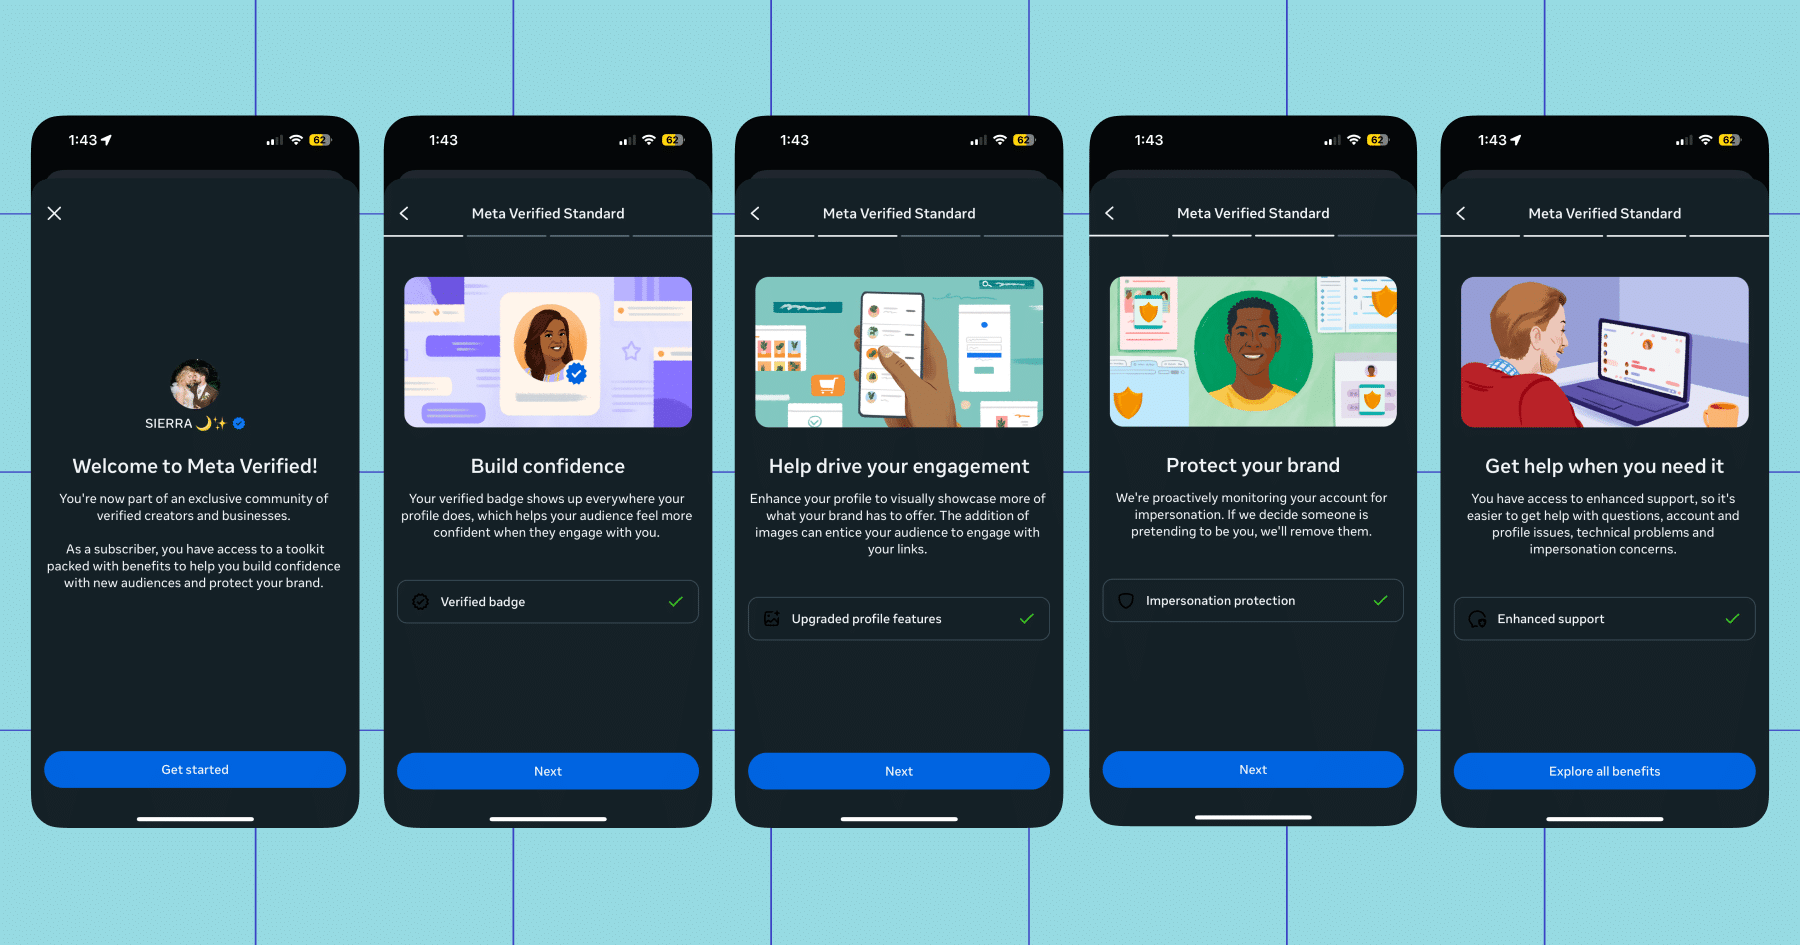
So, if you’re a creator or you’re managing a business account, verification is worth pursuing. If all goes well, you get the checkmark and a few other benefits, like:
- Impersonation protection
- Meta Verified Support
- Enhanced profile on Facebook and Instagram
- Search optimization
- Links in Reels
…and the list goes on and on from there, with the Business-level subscriptions offering advanced options for WhatsApp.
Are you eligible to be verified?
Meta has established requirements for both creators and businesses seeking verification.
If you’re a creator, you need a personal or creator Instagram account in good standing.
You also have to…
- Be at least 18 years old
- Be located in a country where Meta Verified is available
- Have a government-issued photo ID
- Agree to the Meta Verified Terms of Service
- Follow the Instagram Terms of Use and Community Standards
If you’re a business, eligibility requirements are the same, with a few additions:
- You must have full control of an existing business portfolio that contains eligible business assets within Meta Business Suite.
- Eligible business assets include: an Instagram professional business account, Facebook business Page, and/or a WhatsApp business account
- You must meet minimum activity requirements
There are a few other weird rules for both creators and businesses, like you can’t make excessive changes to your account within a certain time period prior to applying for verification (for example, repeatedly changing your username or profile picture).
Find the full breakdown here:
Want to Get Verified? Start Here 👇

Okay, so by now you know if you’re a good fit for verification, and more importantly, if you’re eligible.
If you’d like to pursue that little blue checkmark, first, decide whether you’re going to go the traditional route (requesting verification for free through the app) or use Meta Verified.
First, let’s talk about the former.
Instagram’s traditional verification process (free!)
Note: According to Instagram’s Help Center, you can “…apply for the verified badge if you are a public figure, celebrity or brand.” With that in mind, you likely won’t see the option to apply in the app if you don’t fall into one of those categories.
- Open the Instagram app, and head to Settings.
- In Settings, navigate to Account type and tools, then Request Verification.
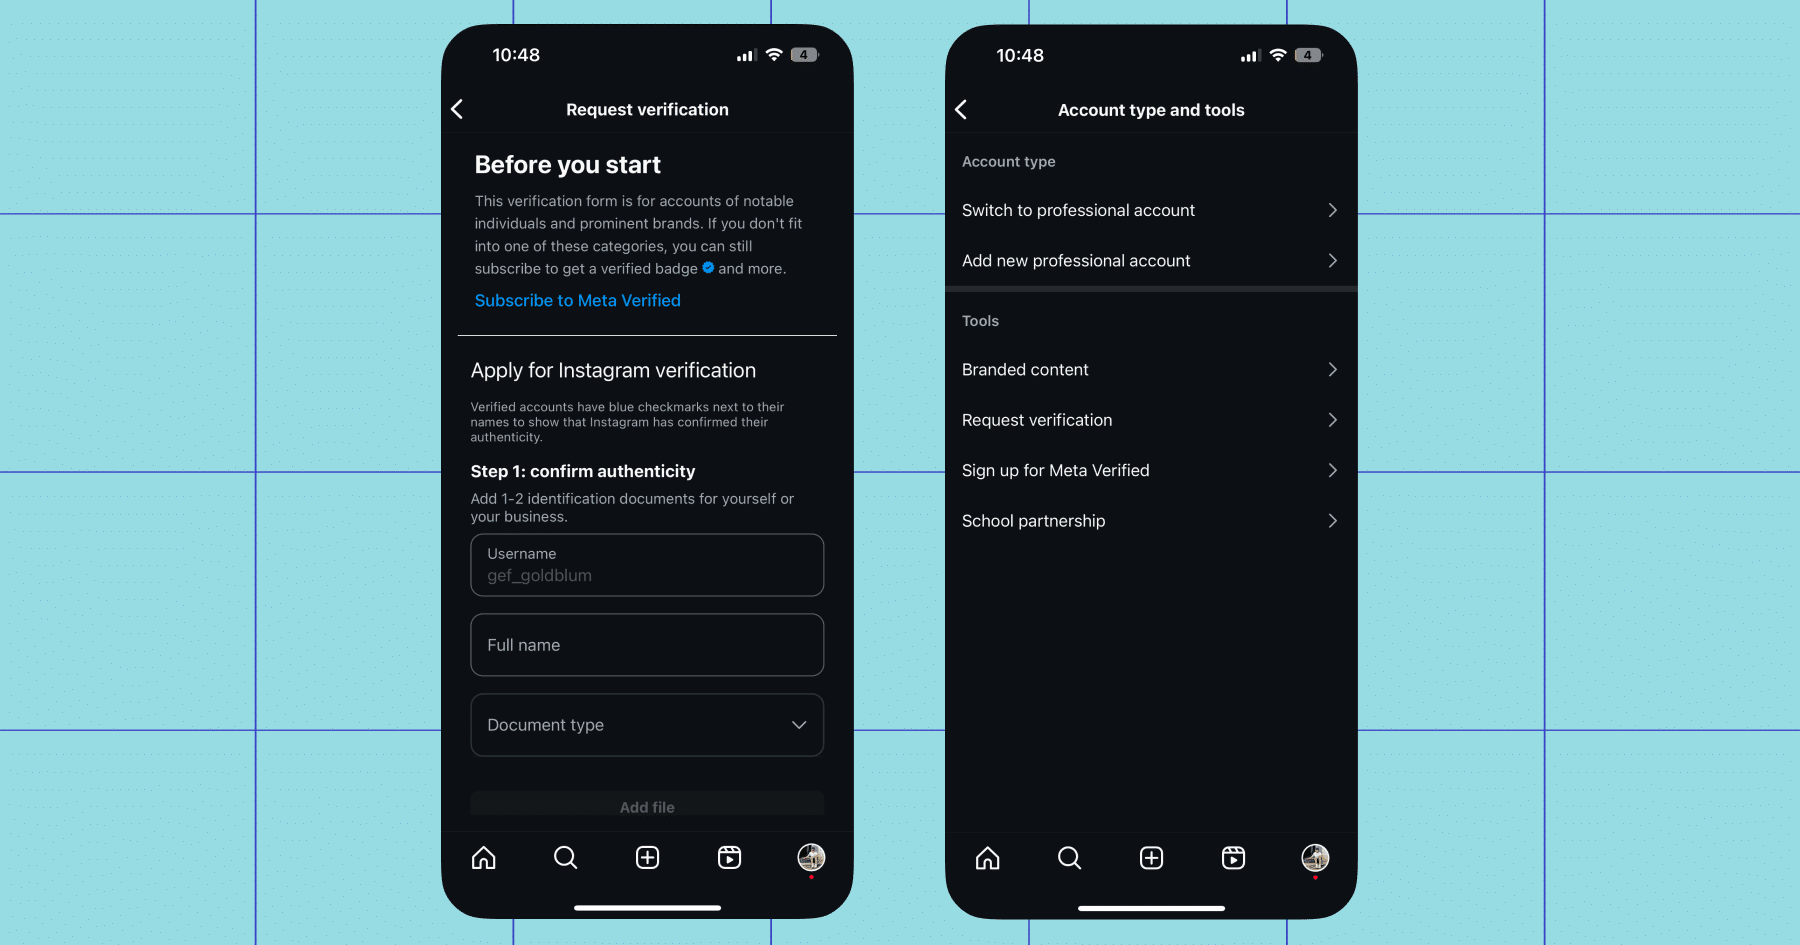
- Fill out the form.
Enter your full name and upload a government-issued ID (for individuals) or official business documentation (for brands or companies).
Choose your account category (fashion, sports, news/media, entertainment). Add supporting links that prove your public presence: press coverage, your website, or other verified social profiles. - Submit your application.
Hang tight while Instagram reviews your application. You’ll typically receive a decision within 30 days, though some reviews take longer depending on demand and region.
If you’re denied, you can reapply after 30 days. Use that time to grow your account and gather more supporting proof (like media mentions or collaborations) before trying again.
Meta Verified (paid)
Note: I went through this process so I could understand how it works.
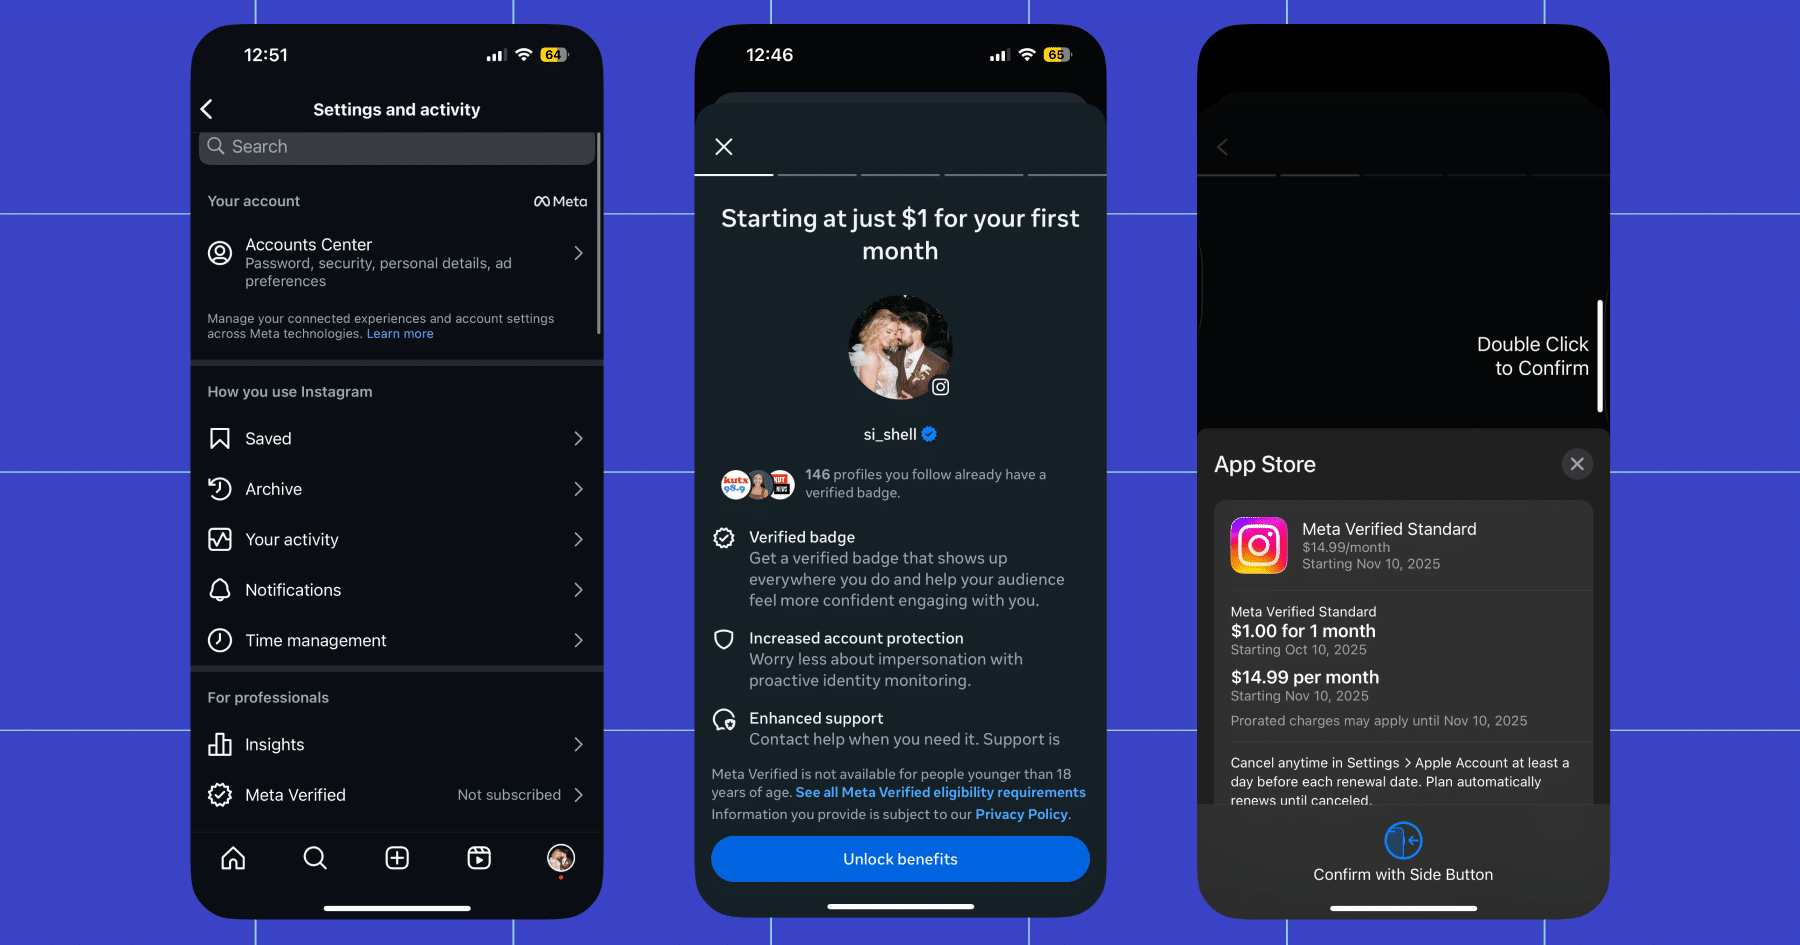
- Open the Instagram app. Head to Settings, then Meta Verified.
- Select the account you want to verify.
- Pay the subscription fee. Prices differ by platform (web vs iOS vs Android) and region. When I signed up, I was offered the first month for just $1 ($14.99 per month after that).
You might be asked to submit an ID (government-issued) and possibly a selfie or video for matching — I didn’t experience this, but it’s possible I verified my identity in the past.
Wait for approval. Once Meta verifies your identity and checks everything, your badge will be granted. For me, this took less than 20 minutes.
- Maintain your eligibility. Because this is a subscription, if you cancel or fail to comply with Meta’s rules, you can lose verification.
Post regularly, keep your account identity consistent with your submitted documents, and adhere to the rules.
Check That Off Your List
You’re verified. I’m verified. Now let’s get to work.
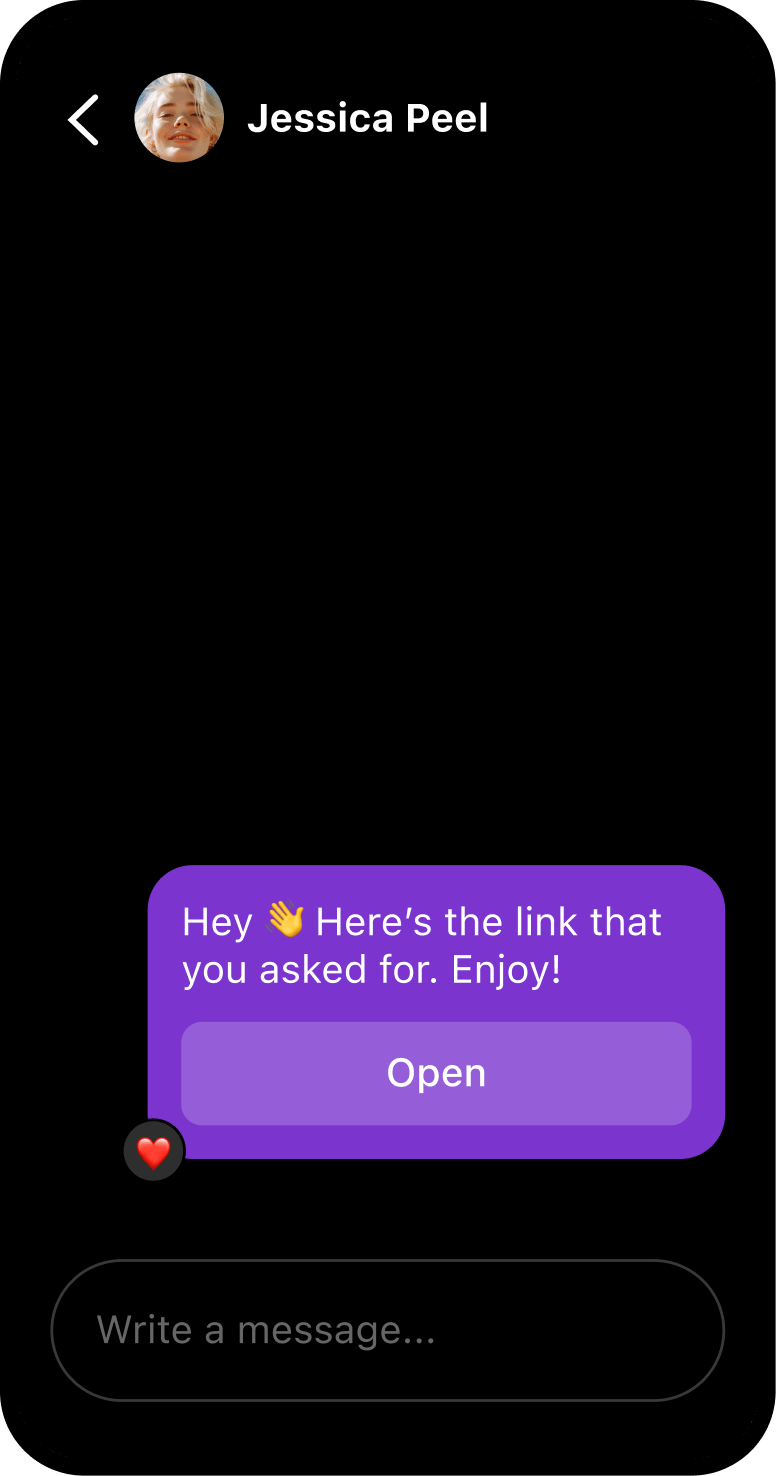
The blue check opens the door, but engagement keeps you in the room. With billions of users on Instagram, your next customer, fan, or collaborator could be just a message away.
Use Manychat to automate conversations, build authentic relationships, and turn that little blue badge into real business growth.
✋ Frequently Asked Questions (FAQs)
1. What’s the best way to use my verified status to drive collabs or partnerships?
Brands take verified accounts more seriously, but if you’re relying on luck or your inbox alone, you’ll miss opportunities. Keep your DMs open, highlight your business email in your bio, and prepare a short “pitch paragraph” so you can respond quickly when brands reach out.
If you want to streamline that process, Manychat lets you create keyword-triggered messages (like “collab” or “partnership”) that automatically share your media kit or route inquiries to your email. It keeps things professional and fast.
2. How do I turn new followers into real conversations (without replying to every DM myself)?
Verification often means more eyes on your profile — and more DMs landing in your inbox. You can stay on top of them by creating a simple system: reply promptly, save message templates for common questions, and use quick links in your bio or Stories to guide people where you want them to go.
If you use Manychat, you can take it a step further. Set up automated DM flows that welcome new followers, answer FAQs, or share your latest offers (all personalized to sound like you).
3. Can I automate engagement on Reels and Stories without hurting authenticity?
Yes, comment automation in Manychat lets you reply to comments and DMs automatically.
Learn more: How to Set up Automatic Bot Comments for Instagram
4. How can I use automation to grow my email or SMS list from Instagram?
Creators often stop at followers, forgetting to build an audience they actually own. Use link stickers in Stories, pinned comments, or highlights to guide followers to your signup form or landing page.
With Manychat, you can capture emails or phone numbers directly in DMs (with consent). It’s a seamless way to expand your list while keeping the conversation going.


Originally published: Dec 24, 2025, Updated: Dec 24, 2025