


Facebook Live is the best way to spice up your lead generation strategy.
Think about it: Have you ever been stuck in a rut when it comes to generating new leads for your business? Maybe you settled on a social media giveaway or running ads because you’d done it a million times before?
These aren’t bad options, but neither will help you stand out in this day and age. However, one tactic that will put you in the spotlight (instead of your competitors) is broadcasting live on Facebook.
You might think, “Well, why can’t I just record a video and upload it?” You could, of course, but according to Forrester, Facebook users watch live videos 10 to 20 times longer than on-demand content. Even better, they also interact with live videos six times as much as they do with the canned on-demand variety.
That extra watch time and engagement with your business can be the catalyst that transforms “okay” leads into “red-hot” ones. If you’re not sure what Facebook Live is or how you can use it to grow your business, stick around—this beginner’s guide is for you.
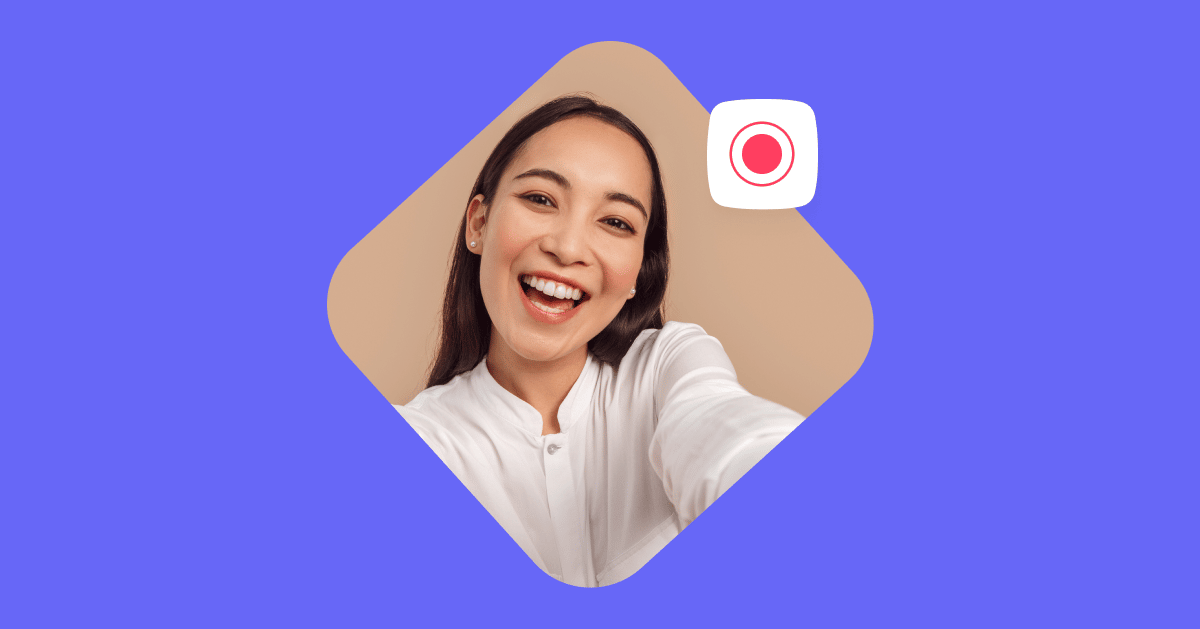
What is Facebook Live?
Facebook Live is a feature on the social media giant’s platform released for general use in April 2016 (after initially only launching it for celebrities in the year prior). It uses a camera on the user’s mobile (Android and iOS) or desktop device to livestream a broadcast.
You can broadcast live from your personal Facebook account, a Page, group, or event, and the video will appear in people’s News Feeds. Depending on the settings you choose when going live, viewers can also comment, share, and react to your video in real time.
Why use Facebook Live?
Beyond the stats mentioned earlier, Facebook Live can be a great tool to master for achieving broad business goals like increasing brand awareness and improving your customer engagement strategy; it helps build more authentic relationships with your audience.
Even during the Coronavirus pandemic lockdowns, businesses like MINI managed to reach 2 million people and achieve three times higher engagement compared to their standard posts when they utilized Facebook Live.
We also asked entrepreneur business coach and top Medium writer Sinem Günel for her thoughts on integrating Facebook Live into her marketing strategy to help sell her courses and mentorship. She said:
“I’d 100% recommend [Facebook Live] to anyone who’s not afraid of doing it. It’s one of the reasons why our group is growing so quickly. It’s the only group for Medium writers with live sessions, so I’m pretty sure we rank high on Facebook searches because of that; plus, live videos typically bring a lot of engagement in terms of likes and comments.
“Apart from that, it’s one of the things that really helped me understand the community members and what makes me stand out from other top writers. It’s just much easier to build a relationship and trust if people see you on video!”
So if you’re excited to get your creative juices flowing with Facebook Live, stick around, and we’ll lay out the details of the process as well as some tips for success.
How to go live on Facebook
Beyond electing whether to go live on Facebook through a mobile phone or a desktop (or even through specialist streaming equipment), you’ll need to opt for one of the two overarching methods to help you get there. You can go live through the native Facebook application or a third party.
Going native
This method is the quickest, especially if you decide to use your phone. However, the setup is pretty simple on both mobile and desktop (with a built-in webcam):
- If you’re not going to broadcast from your personal profile, head over to the Page, group, or event you want to stream from.
- Go to create a post and hit the Live button. If it’s the first time you’re doing this, Facebook will ask you for permission to access your camera and microphone.
- Add a catchy or intriguing description, and if you’d like, tag friends/colleagues, check into a location, or share a feeling/activity.
- Select Start Live Video, and you’ll immediately start streaming a Facebook Live broadcast!
- Hit the Finish button to end your live broadcast.
Naturally, there are a few pros and cons to using the native Facebook application.
Pros:
- It’s effortless to create live content within the Facebook app, which can be helpful if you need to spontaneously livestream
- The stream itself can be more stable since you’re using the app and there’s nothing to interrupt the connection (aside from your personal internet connectivity)
- It’s free to go live through the Facebook app
Cons:
- It’s not easy to customize your stream’s look (i.e., adding logos or other graphics) on a desktop computer, and not even possible on mobile devices
- You can’t stream to more than one platform simultaneously (e.g., Facebook and YouTube)
Using Facebook natively might suit you and your business. Still, if you’re looking for a little extra functionality or you want to use high-quality equipment, it might be worth checking out some third-party livestreaming services.
Streaming through third parties
Facebook partners with plenty of livestreaming software services you can use with Facebook Live Producer. Of course, features vary between different providers, so before you commit to a particular service, it’s worth comparing a few to make sure you find the right one for you.
For this particular blog post, we’ll run through how to livestream using Be.Live, a popular choice for many streamers.
- If you’re new to the service, create an account with Be.Live. You’ll only have the option to do so with a Facebook or a Google account (though it makes sense in this case to sign up with Facebook).
- Be.Live and many other platforms have tiered pricing plans, which often come with a free limited-time trial. Select the option that’s right for you.
- Once you’ve created an account, you’ll need to give your software permission to use the camera and microphone. At this point, you’ll also want to ensure you have the right equipment set up correctly in the settings:

- Take advantage of any tutorials or walkthroughs you might encounter upon your arrival.
- Add your Facebook profile information if you opted to sign up through Google (and YouTube if you want), which you can do in the Edit Destination section:

- While you’re there, you can edit how the stream will appear on Facebook—i.e., the stream title, description, and where you want the stream to come from (a specific Facebook Page or group).
- Add your custom branding to the screen (if you choose a paid tiered option).
- Include any guests if you’re co-hosting or conducting an interview.
- Add any media you might want to include in your livestream (which will appear in the staging area) that you can “push” to the screen during your broadcast.
- Double-check everything looks how you want it. If it does, hit the Start button! When you’re ready to finish, just press Stop. You can also download and edit the video content when you’re done.
Just like using Facebook to livestream natively, going with a third party has its pros and cons:
Pros:
- Using a service like Be.Live allows you to add branding and other customizable options for your livestream
- You can stream to more than one platform at the same time
- It can be a more engaging experience (depending on available features)
Cons:
- Many of these services aren’t free to use (unlike Facebook’s native option), and those that are will include their own branding as watermarks
- Since you’re streaming to Facebook via a third party, your internet connection may not be as reliable as it would be when only using Facebook
- Many of these services only work via desktop computers/laptops—sorry, mobile streamers!
Now you know how to add live video to Facebook, either through the app or a third party. However, it’s definitely in your best interest to learn a few of the top tips and tricks to ensure you have a successful video streaming experience.
Tips for using Facebook Live
Whether you’re running your first Facebook Live (or your fiftieth), keep these tips in mind:
Quick Tips
- Stuck on what to talk about? Source ideas from your community on social media or private groups.
- Don’t worry about getting it perfect every time. Going live is personable and relatable; your audience won’t expect you to be flawless (in fact, showing your human side may even endear you to them). Just be yourself.
- Try not to talk like a marketer. Avoid sprinkling jargon into every sentence and communicate authentically. Never forget that you’re a person talking to other real people, hoping to help them solve a problem in their lives.
- Promote your live event to boost your Facebook Live distribution. Use a Messenger bot to capture leads and encourage people to share your livestream.
- Plan your livestreams in a way that’ll make it easy for you to repurpose your content across different channels and mediums, as recommended by Kelly Mirabella in her latest livestreaming video.
- Stay focused on a clear message you want to deliver during your live broadcast to help you remain on topic. It can be easy to get distracted and meander, which can dilute your message’s impact.
- If you want to do a test run of a live broadcast (to see how it looks or just to practice), you can set the visibility/privacy settings when creating the post to “Only Me.”
Deep Dive Tips
Tip #1
Our first deep-dive tip: Employ a marketing strategy using our Comments 2.0 Growth Tool to help drive traffic to Facebook Live and generate leads.
Of course, the first step you’ll need to take to set up this flow is to create a ManyChat account and familiarize yourself with Flow Builder.
Once you’ve done that, you can schedule your Facebook Live broadcast, either through a third party like Be.Live or Facebook. When you’ve scheduled your broadcast, you’ll be able to connect it to the Comments Growth Tool by selecting from the dropdown menu like so:

After you’ve connected your scheduled post, the fun really begins! From here, set up your trigger keyword, like “connect,” so that anyone who comments using this word will activate the Messenger bot.
To edit the Messenger bot’s response, head to the next tab (labeled Auto-Response), where you can write your welcome/lead-in message to encourage your commenters to opt in to receiving further messages from you.
Once you’ve crafted your lead-in, you’ll want to connect users to a Messenger Flow via the Opt-In Actions tab. This Messenger Flow will ultimately convert them into customers (check out a more detailed Facebook Messenger Marketing guide for more information).
To line up more traffic to watch your awesome live broadcast, you’ll want to complete the same steps mentioned previously, but using an announcement post or ad instead of a lead-in message. This time, you’ll want to connect a Flow that sends users reminders about the upcoming live events.
A great real-life example of this tip comes from Molly Mahoney in her post, “How to Drive Traffic to Facebook Live with Messenger and SMS Broadcasts.”
Tip #2
This recommendation may sound pretty basic, but you’d be surprised how many people have a “set it and forget” attitude when it comes to any kind of automated communication.
Don’t succumb to that mentality! Once you’ve managed to finish your live broadcast (super fun, right?), remember to review the final results with a critical eye. Say it with me: Never. Stop. Improving.
In Facebook Live Producer, you’ll be able to see some basic metrics from your stream’s performance:

This dashboard will help you gauge how well people engaged with the stream itself. However, the other dashboards you’ll want to pay close attention to are your ManyChat home overview and individual Growth Tools’ performance stats.

From your ManyChat dashboard, you’ll be able to determine how well (or poorly) your Flows and Tools perform. When using automated communication, it’s critical to continually test, improve, and monitor your Flows.
If you decide to give Facebook Live events a regular spot on your content calendar, don’t be afraid to switch up your CTA’s wording a little, add some bonus content, or even remove unnecessary fluff. Compare each iteration to previous versions to figure out what works best.
Go live on Facebook today
Now you know what Facebook Live is and how to use it, the benefits it can provide to your marketing strategy and business goals, and some killer tips for success. All that’s left is for you to give it a try for yourself!
Still feeling reluctant to dive in? If, after reading this guide, you still feel a little uncertain about using a Messenger bot to supercharge your Facebook Live experience, you can check out some more resources on our blog.